Raw Editing Fundamentals: Why You Should Shoot RAW and How to Process It
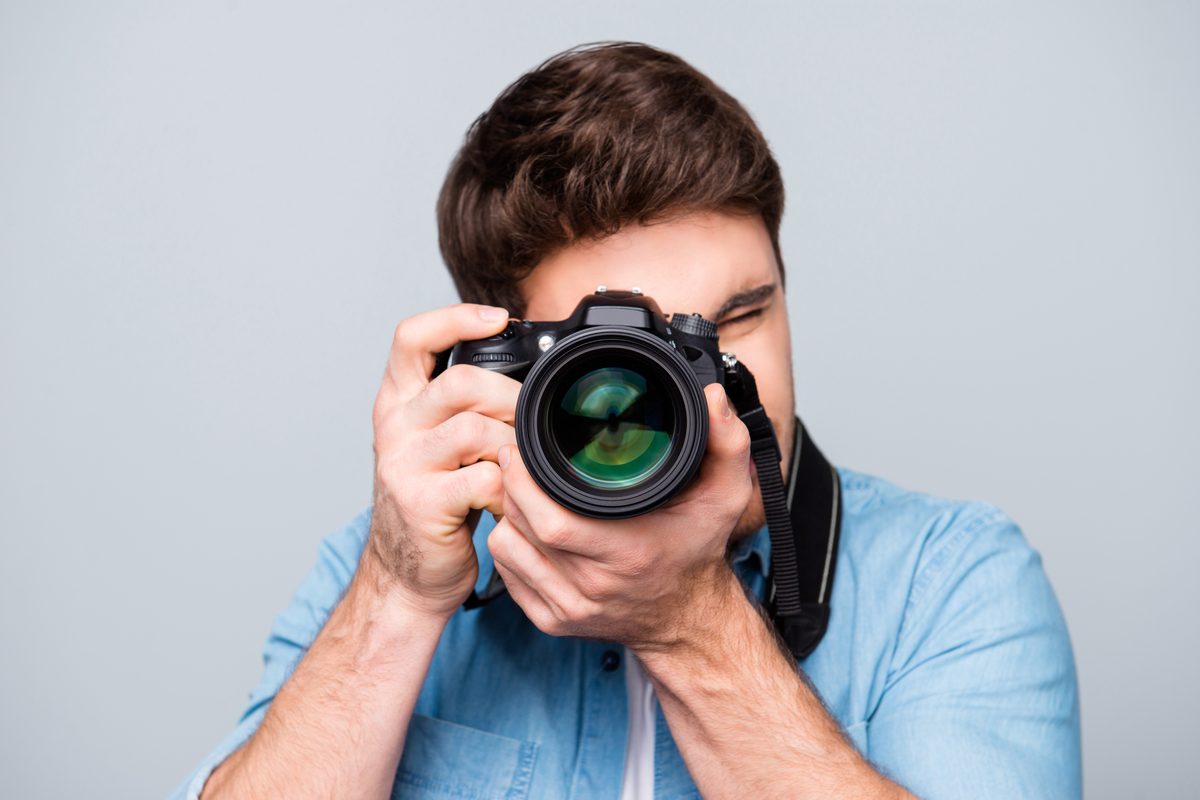
When I first started photography, I shot everything in JPEG. I thought RAW files were unnecessarily complicated. Then I realized I was throwing away creative control every time I pressed the shutter. Today, I won’t shoot anything but RAW, and I want to show you why—and how to make RAW editing work for you.
What Is RAW, and Why Does It Matter?
A RAW file is essentially your camera’s unprocessed sensor data. Unlike JPEG, which applies compression and in-camera processing, RAW captures everything your sensor recorded. This gives you massive flexibility in post-production.
Think of RAW like a film negative. You’re capturing the raw information, then developing it exactly how you want. With JPEG, your camera already made those creative decisions for you—and you can’t undo them.
The practical benefit: RAW files recover blown highlights better, reveal shadow detail you thought was lost, and let you adjust white balance without quality loss. I’ve saved countless shots that would’ve been unusable as JPEG.
Opening RAW Files in Photoshop
You’ll need Adobe Camera Raw (ACR) to open RAW files in Photoshop. When you open a RAW file, ACR launches automatically as a dialog before the image enters Photoshop proper.
Here’s what to do first:
Open your RAW file (File > Open, then select your RAW). ACR opens. Before making any adjustments, I always zoom to 100% (press “1” on your keyboard) to see actual pixel data. This prevents you from over-processing.
The Order of RAW Adjustments Matters
I follow a specific workflow because adjustments interact with each other. Here’s my sequence:
1. White Balance Start here. If your white balance is wrong, every other adjustment will feel off. Use the temperature and tint sliders, or click the white balance selector tool and click something neutral in your image (a gray card or neutral area).
2. Exposure and Contrast Adjust exposure first—this is your overall brightness. Then add contrast if needed. In ACR, I use the Exposure slider to get the histogram sitting right, rarely going beyond +1.5 or -1.5.
3. Highlights and Shadows This is where RAW shines. Use the Highlights slider to recover blown-out areas (push left) and the Shadows slider to reveal detail in dark areas (push right). These sliders are forgiving because you’re working with actual data.
4. Clarity and Vibrance Clarity adds mid-tone contrast—use it subtly (I usually stay under +20). Vibrance increases saturation intelligently, protecting skin tones. I prefer Vibrance over Saturation for this reason.
5. Sharpening and Noise Reduction At 100% zoom, add sharpening with the Amount slider (I typically use 50-80). If your image is noisy, apply luminance noise reduction first (around 30-50), which preserves color detail better than color noise reduction.
When to Move to Photoshop
ACR handles global adjustments beautifully, but selective edits happen in Photoshop. Once I’m satisfied with ACR settings, I click “Open Image” to bring the processed RAW into Photoshop as a smart object. This non-destructive approach lets me adjust ACR settings later if needed.
The Real Advantage
Here’s what convinced me RAW was non-negotiable: I shot an outdoor portrait where the sky blew out completely in JPEG preview. The RAW file had all that sky detail. I recovered it in ACR, graded it to match the mood, and delivered an image that looked intentional, not salvaged.
That’s the RAW difference. You’re not trying to fix mistakes—you’re revealing information that was always there.
Start shooting RAW today, and you’ll immediately notice how much creative control you gain. Your future self will thank you.
Comments
Leave a Comment